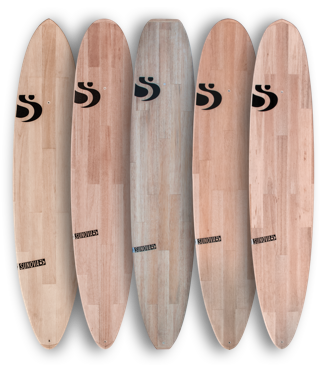
Our Technologies!
Everything in one place
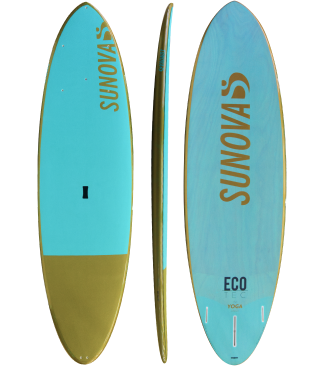
US$ 1,049.00
All prices are Region Specific. Thus they are not easily comparable.
Please do not take it personal if your region is more or less expensive.
There are a lot of parameters that play into those.
If you have any questions about this, please feel free to message us
thru the chat on the bottom right.
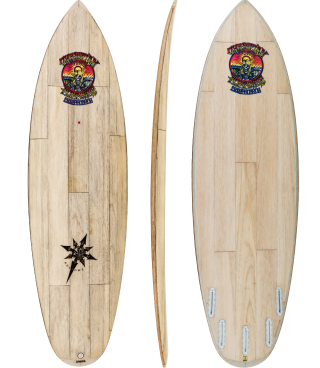
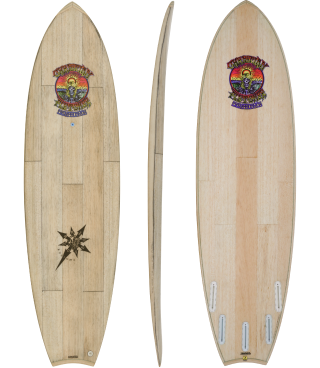
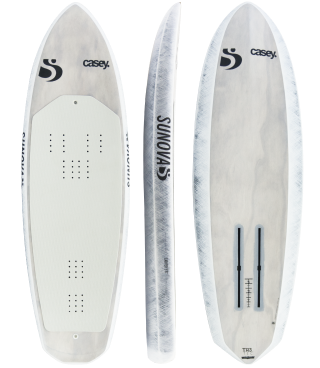
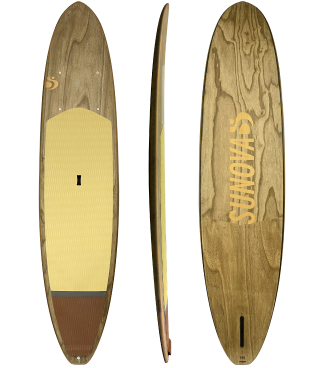
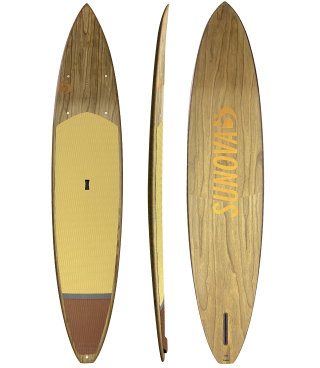
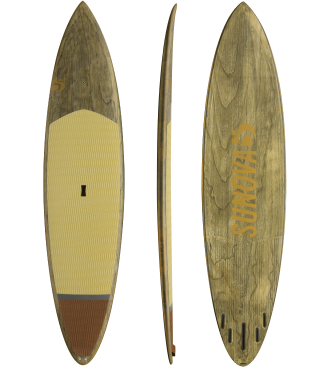
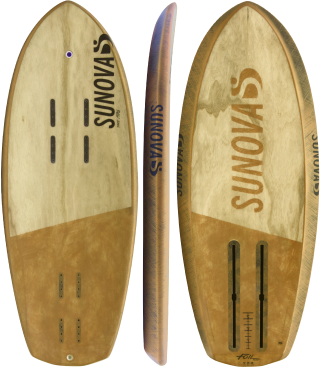
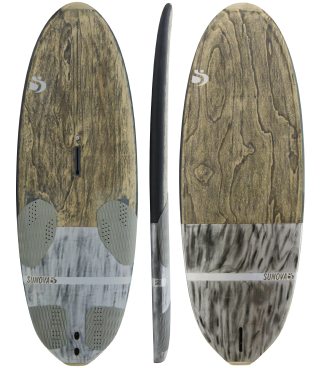
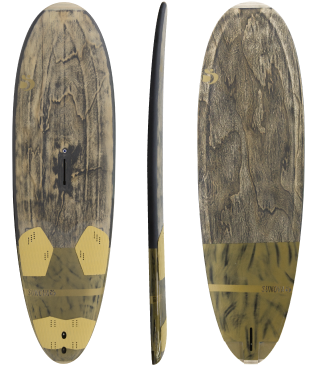
THE BOSS was designed as a board for the average surfer in average conditions. With healthy volume, paddle power based on volume and area rather than a flatter rocker and lots of tail area, you can still cut back on soft sections but still feel solid down the line when there's a little more punch.
The board continues to carry as the power backs off, yet with the generous outline curve through the tail and advanced rocker, it's still loose to pump for speed and will fit in the pocket for a decent reo if required.
A everyday smaller wave board that paddles well yet still performs to a high level...
Most softer wave types, excluding fast, heavy down the line waves.. ||| From just under waist high up to double overhead.
Clean round house cut backs, Floaters…
Novice to Pro ...
Above average
I wanted to design a board for your average surfer in average conditions, healthy volume, paddle power based on volume and area rather than a flatter rocker, lots of tail area, so you can cut back on soft sections and the board continues to carry as the power backs off, yet with outline curve through the tail and advanced rocker, so its still loose to pump for speed and will fit in the pocket for a decent reo if required…
With the amount of tail area, full rails and harder edges, it doesn’t like really fast powerful waves, will tend to get slippery and out of control at high speeds and harder to get rail to rail, would not work at the Bluff West Oz, J bay or Teahupoo…
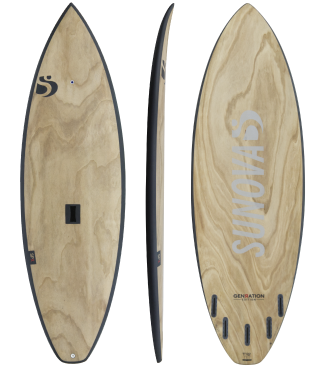
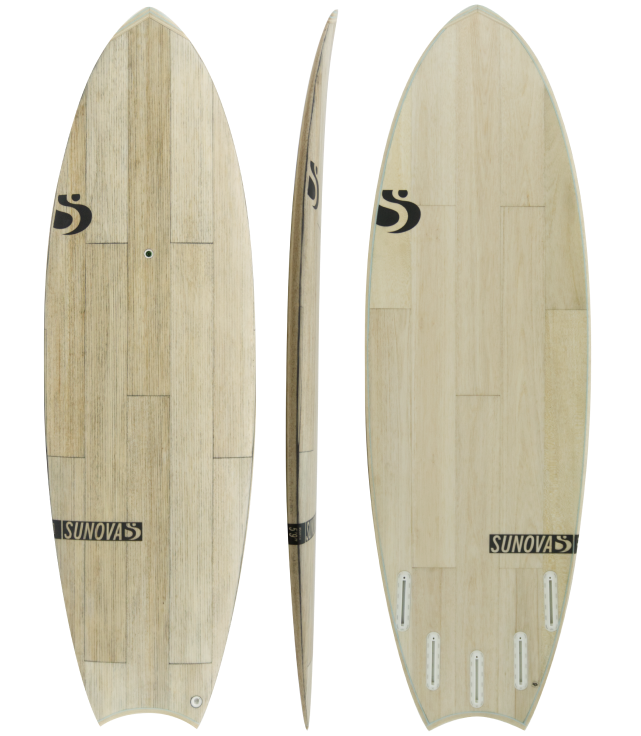
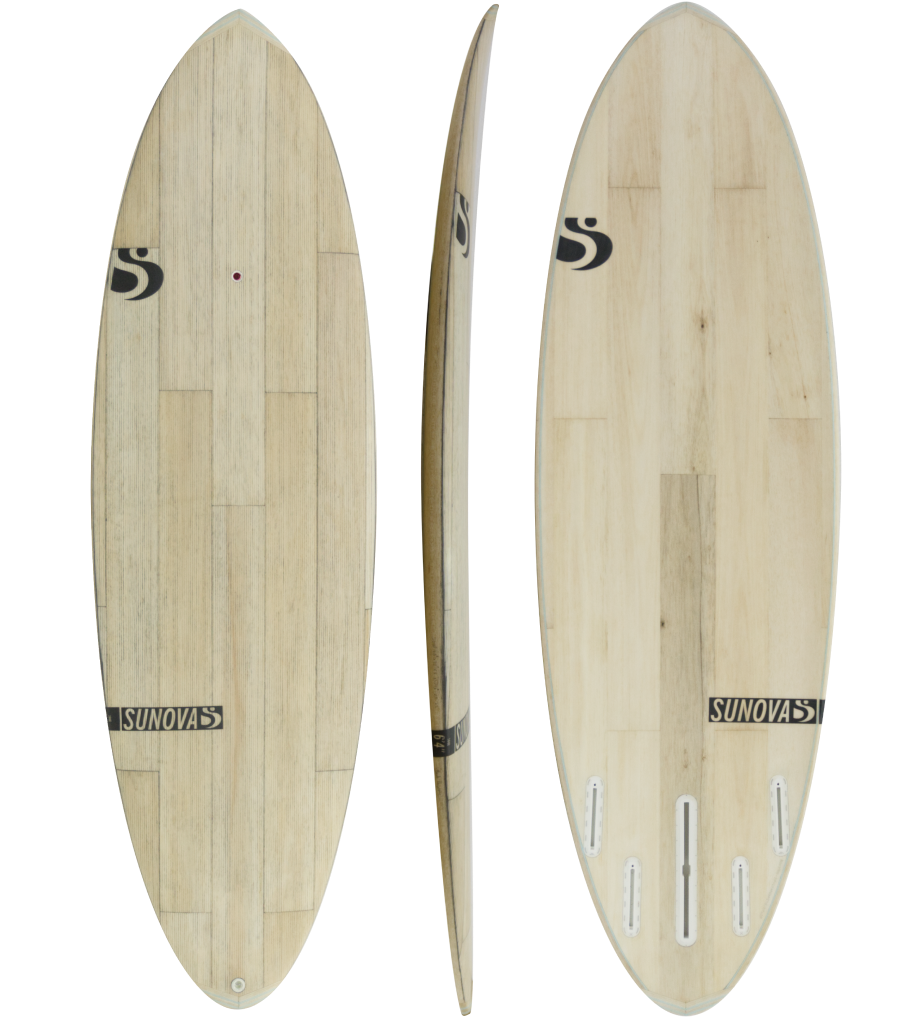
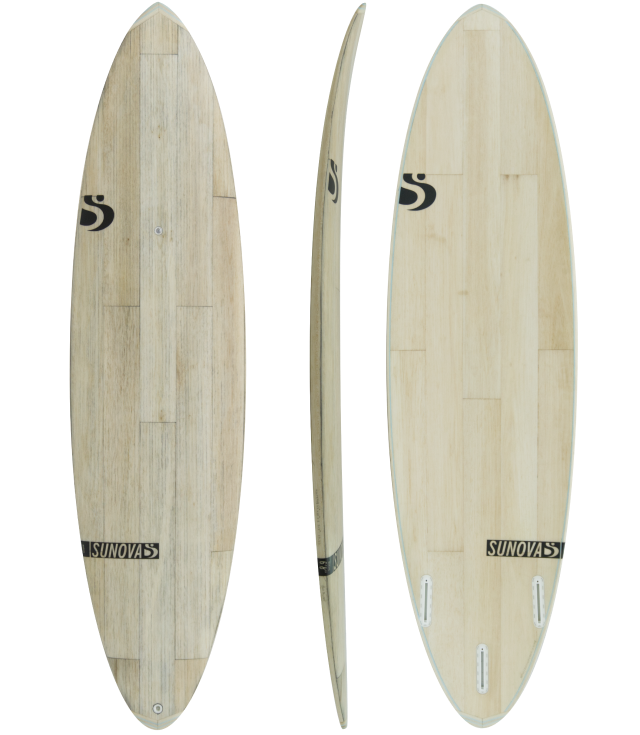
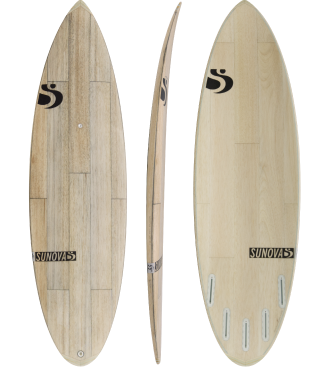
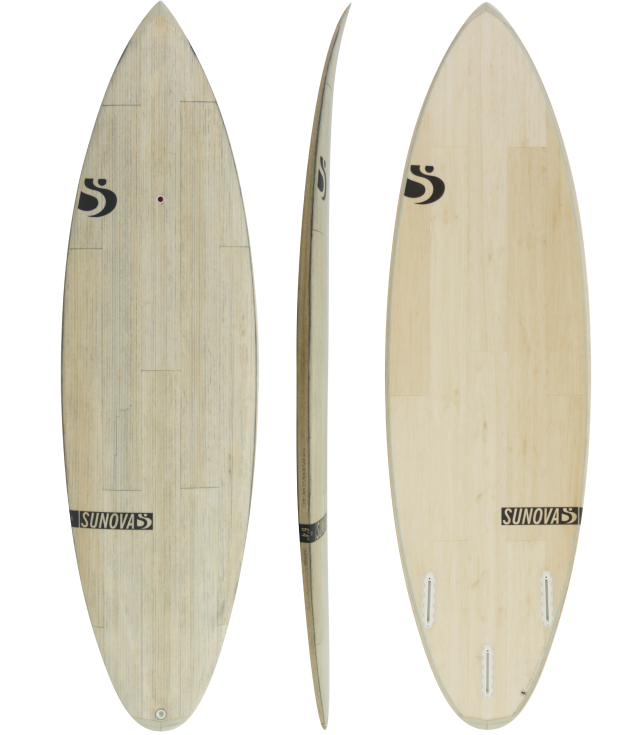
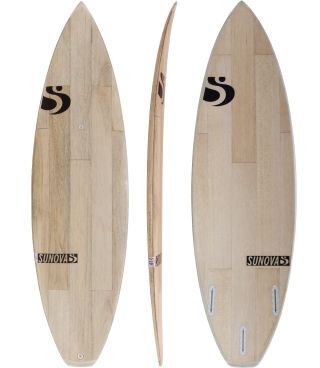
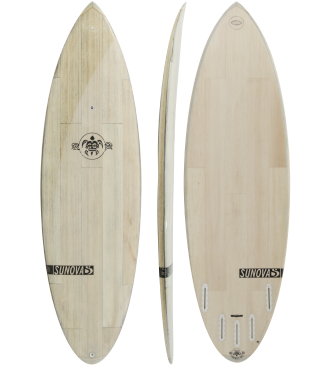
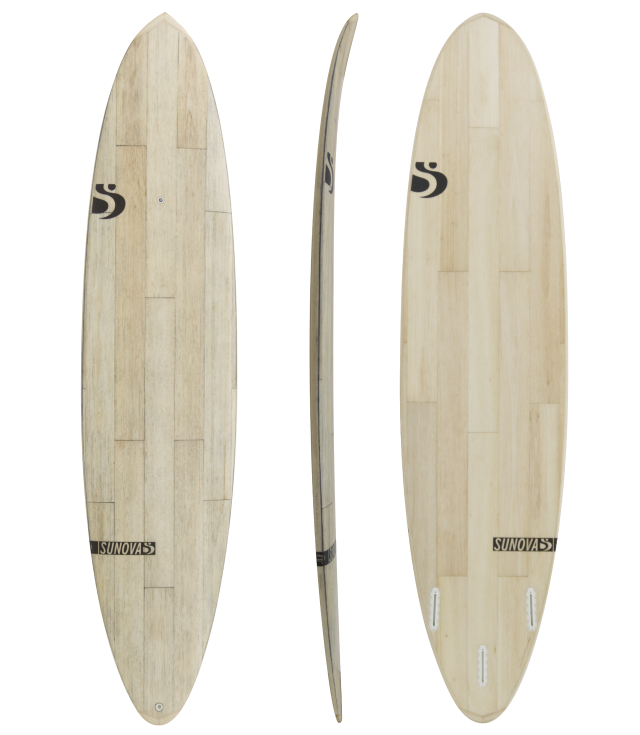
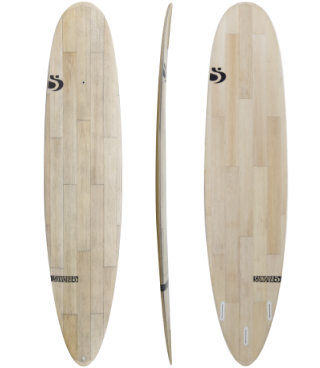
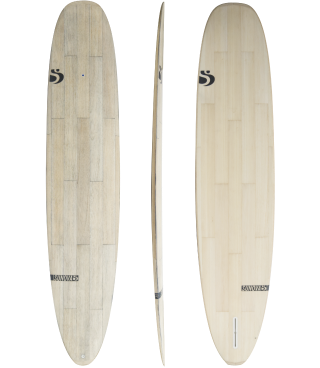
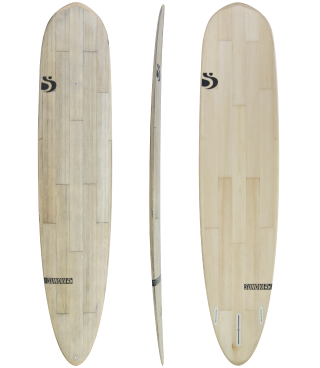
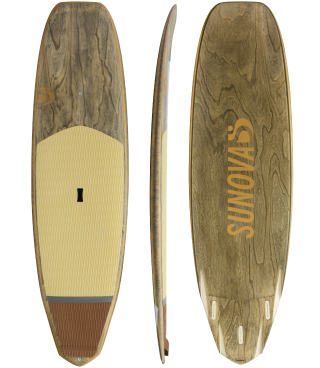
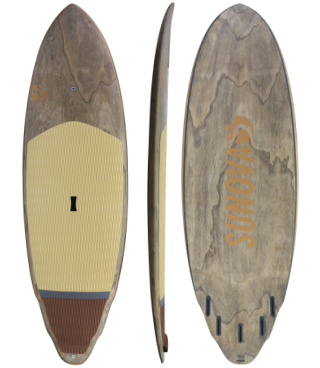
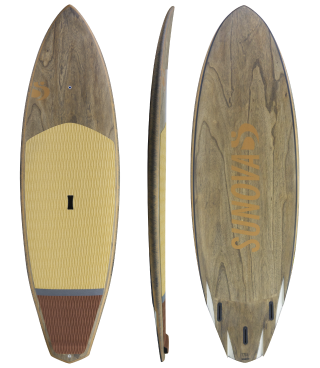
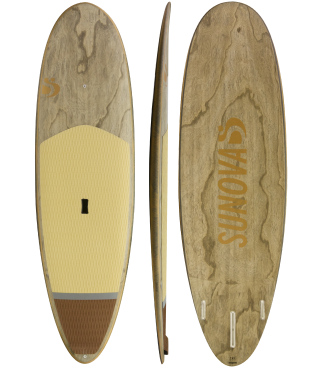
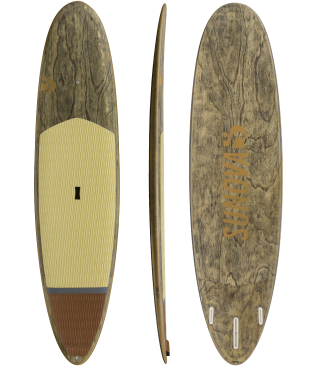
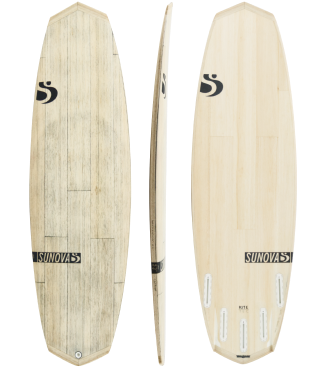
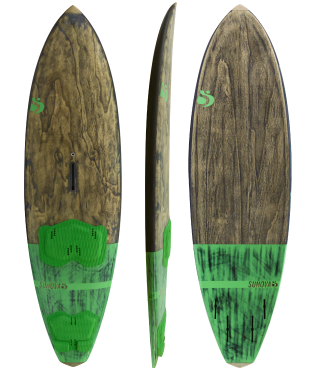
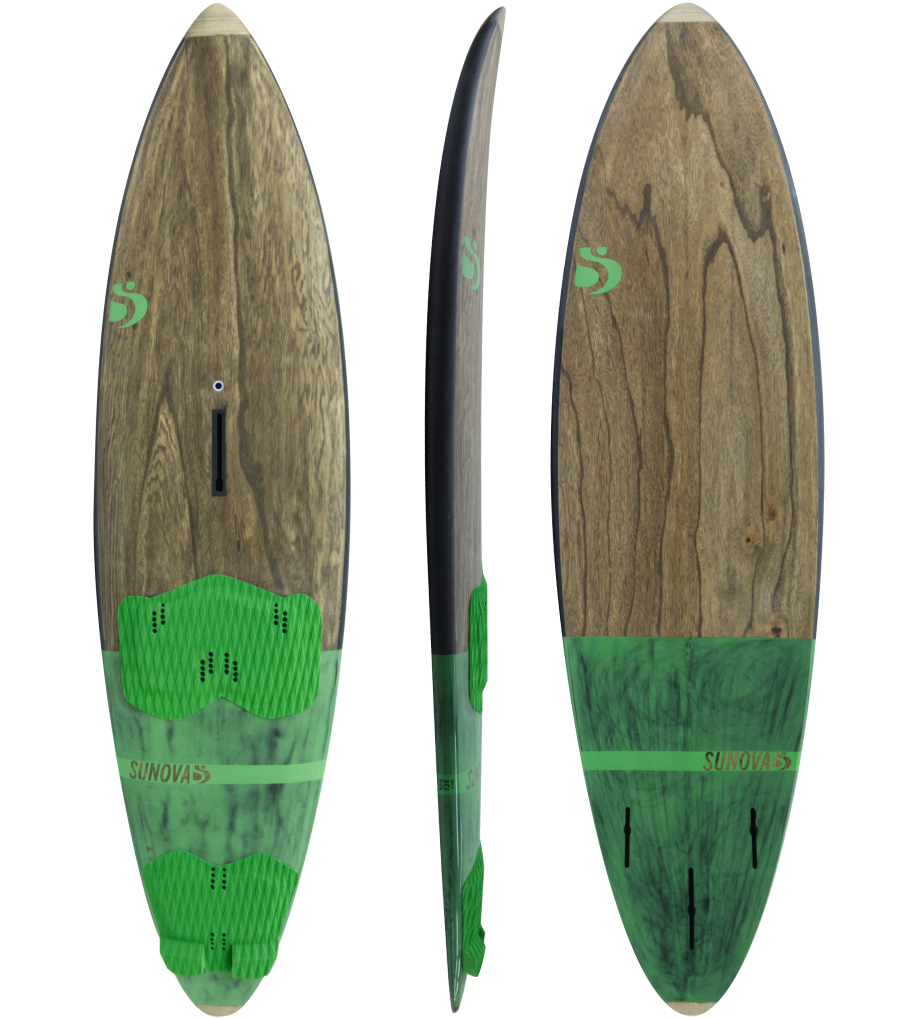
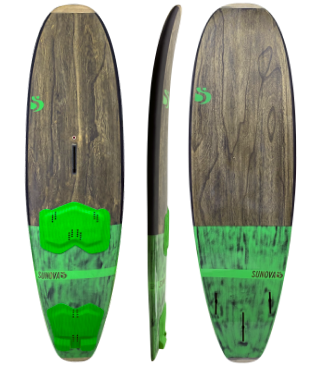
Slightly fuller nose, clean outline, area rounded pin. The fuller nose helps the board climb on top of the water a little easier within the first few strokes, the center outline runs an identical arc to a high performance shortboard, but it has considerable tail area, finished off with a round tail. This tail area is instrumental in getting away quickly, the wave is able to pick up that area and propel it as opposed to a narrow tail that sinks deeper into the lip. As you jump to your feet, that subtle squirt with the knees on the tail gives a little nudge to get in early. The round tail allows you to keep tightening up a rail carve as your weight transitions onto the back foot more. So for a wide tail, it can surf amazingly tight off the back foot (Think McCoy Laser Zap).
Full and boxy with harder bottom edges. The fuller rails offer a different way to get speed on the take off. If the waves are softer, you bury the inside rail on the first pump, as the rail pops out you can use this momentum to get the other rail in and continue with a rhythmic pumping action. The harder edges have good release, so the board really wants to skate along fast on top of the water. The boxiness of the rail allows aggressive driving front foot cutbacks with very little chance of bogging the rail.
Full performance rocker. With this amount of rocker, the board stays nice and loose and still fits into the pocket even though it's wide with a chunkier rail. The combination of outline curve, concave and rocker work together to offset the width and thickness, offering a sense of overall balance in the design.
Single concave. One problem with really wide tails and boards is that it's harder to get them on rail. The issue with a wide tail is the slippery feeling on the rail to rail transition. This is where you can go into an uncontrollable drift when turning under the lip at speed. One rail is engaged, then there is a brief moment where the board is flat before you can get the other rail in. With the concave, you have one rail engaged, then as you transition onto the other rail, it bights and grabs with a more positive feeling. So in short, your inside rail or soon to be inside rail will engage better, then you also have the hard edge and direction of water release from the outside rail, assisting you to bury the inside rail.
The deck is a fairly standard profile, with the overall board being a little thicker, this carries volume out to the rails in proportion as well as into the nose and tail. This volume in general offers a level of comfort when paddling and catching waves, the first few strokes are not spent climbing out of the water.
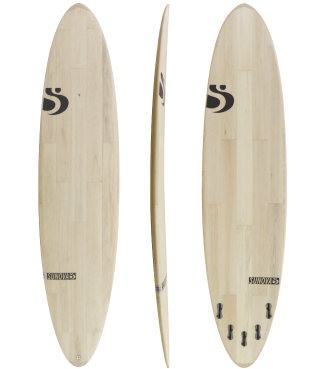
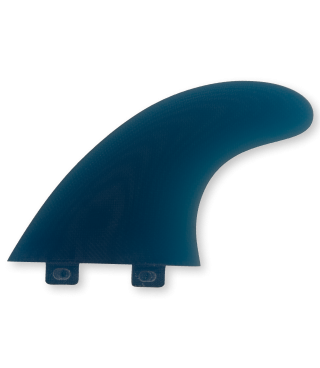
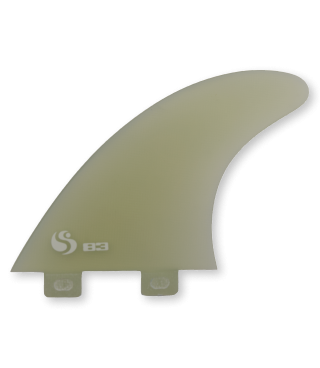
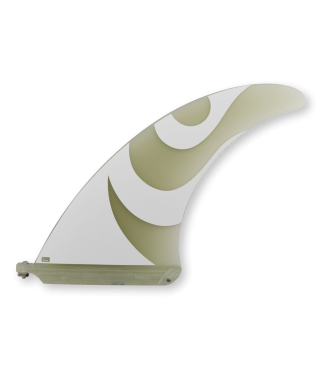
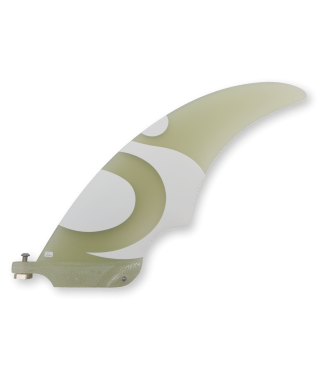
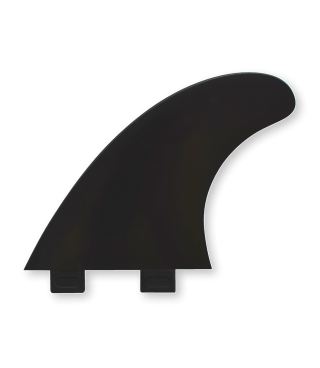
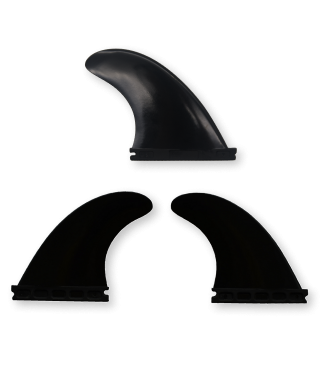
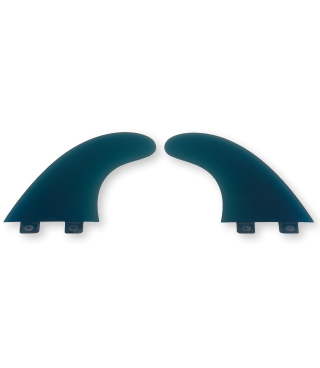
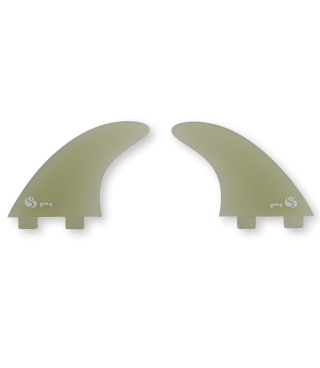
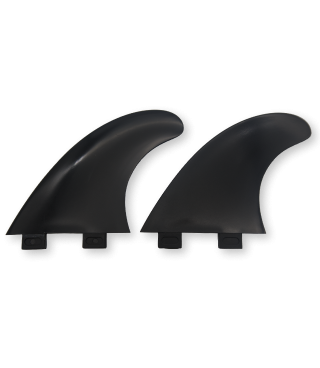
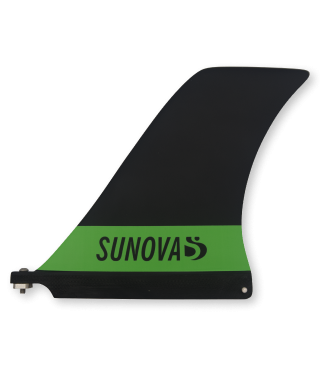
5 Fins. For top to bottom surfing the thruster will be the better option. As the waves get a little steeper and faster, switch out to the quad to hold a higher more direct line, or if the waves are flatter and more open with little chance of top to bottom surfing, the quad is also an option.
A good all round board if you live on the East Coast of Oz, or softer locations that have similar power to Southern California. I have personally had great waves on the Boss in Thailand, Malaysia, Bali, soft summer waves in West Oz and Sri Lanka. Keep in mind that a Sri Lankan double overhead wave is considerably softer than waves further south in the Indian Ocean, so while the board can still handle some size, it still needs to be softer.